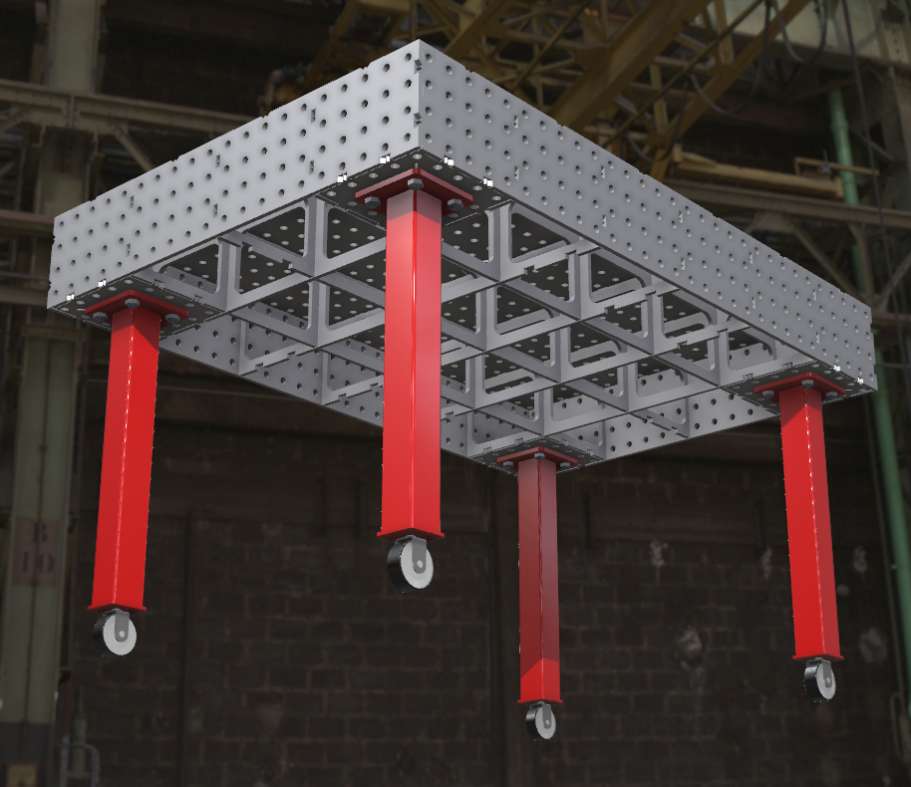
Fixture Table Self Build Guide
Instructions for your Valiant Industrial Fixture Table
This guide will walk you through assembling your Valiant Industrial fixture table or tooling. If you’d prefer a ready-made product, simply select "Pre-Built" at checkout, and we’ll handle the assembly and welding for you.
Before You Begin
1. Delivery Check
Ensure all items arrived in good condition, with no signs of damage, exposure to weather, or tampering. If you notice any issues, please refuse delivery and notify us immediately.
Preparation
If you’re building a modular table or tooling, start by:
- Checking Parts: Inspect each piece for accuracy and completeness.
- Deburring Edges: Use a flap disc grinder to remove any slag left by the laser cutting process on the edges of parts, especially tabs and slots. This ensures a smooth, tight fit and an even surface.
Tip: Our team deburrs parts when possible, but it depends on our workshop load.
Assembly Steps
1. Dry Fit Assembly
Once your parts are prepped, follow the product images and provided drawings for alignment. Begin with a "dry fit" to check positioning and fit before clamping. Ensure all connections are snug, with no visible gaps.
Fixture Table Assembly Tips
Setting Up the Top Plate
Method 1: Place the top plate face down on a raised surface (like a pallet) with support in the four corners. For larger tables, add centre support. This allows you to access the underside for clamping.
Method 2: Assemble and dry fit the sub-frame cross members into the slots on the top plate.
Clamping the Sub-Frame to the Top Plate
Use threaded bars, long bolts, or other similar tools to secure the cross members and pull the top plate tight against the laser-cut edges.
Side Skirt Tip
If your table has side skirts, dry-fit them now. This will square the sub-frame and simplify alignment. Use sash clamps or threaded bars to pull the skirts tight with the sub-frame and the top plate.
Welding
With everything clamped and aligned:
Welding Method
- Use either MIG or TIG welding.
- Begin by tacking the cross-sections in the centre and work outward, adding small tacks on each side to secure the structure.
Turn and Weld
- Once the underside is tacked, turn the table over (you may need extra hands).
- Finish by welding the tabs and slots on the top side.
Welding Tips
- Take breaks to control heat build-up, especially on the top plate, to prevent warping.
Finishing
After welding, smooth out any high spots on the welds, giving your table a clean, polished look. Now it’s ready for use!
Installing Castors
If your table includes Foot Master Castors, you should receive:
- 4 x Castors
- 4 x M12/1 threaded studs
- 4 x nuts
For self-build tables:
- Option 1: Weld the nuts inside the foot plates for a secure, captive nut.
- Option 2: Thread the foot plate directly and set aside the nuts.
For ready-made tables:
- The foot plate is pre-threaded, so the nuts are unnecessary. Thread the stud into the castors and secure it in the leg. Ensure the castor plate is flush with the leg plate for even load distribution.
Enjoy Your New Fixture Table!
Stand back and admire your work before diving into your next project.
©Copyright. All rights reserved.
We need your consent to load the translations
We use a third-party service to translate the website content that may collect data about your activity. Please review the details in the privacy policy and accept the service to view the translations.
